First Rough Draft
- zainfaridr
- Apr 8, 2025
- 4 min read
Updated: May 17, 2025
Constructing the First Rough Cut
Before the polish, before the color, before the sound hits right, comes the messy but essential part: the rough cut. And this is where the film finally began to resemble itself.
I started by throwing together a workable timeline. Nothing fancy. Just a visual structure to get a sense of flow. My first job was to respect chronology, following the script and storyboard beat by beat, act by act, scene by scene. Once I laid everything out, I stabilized the shakiest shots, did some initial trimming, and quickly moved on to build basic sound design.
Timeline Breakdown
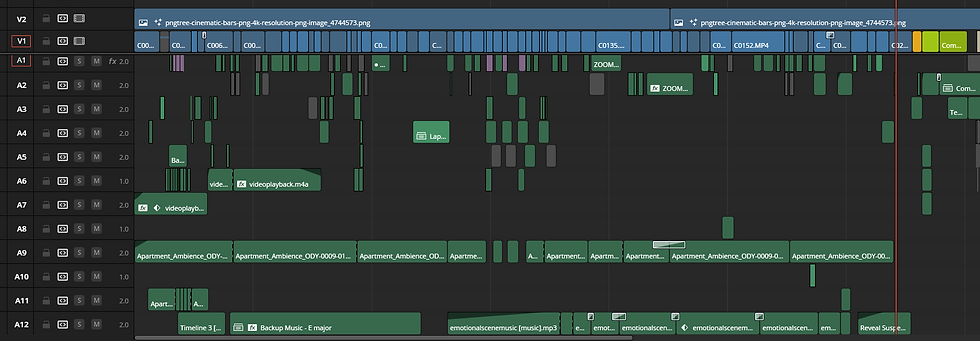
In DaVinci Resolve, I kept my visual timeline clean but structured my sound layers like this:
Dialogue
Background
Diegetic
SFX 1-6 (I layered multiple sound effects together to make moments feel richer and more realistic)
Music
Ambience
Extras

These layers helped me stay flexible; I could mute, tweak, or build atmosphere without the timeline turning into a complete mess causing my OCD to go crazy and me to be unable to work. And this layering proved crucial later when syncing dialogue, shifting audio for beats, and creating emotional texture.
Framing the Acts
Each act was edited in chunks. I marked transitions with visual cues but avoided actual transitions for now. This was about clarity and pacing, not aesthetic. What I did focus on was flow: moments that needed space vs. moments that needed to cut fast and get out of the way.
The storyboard helped, but in some scenes I leaned into abrupt cuts while in others I chose to linger. Like when Saif tells her about his trauma, the pacing slows deliberately. I cut back and forth just once to hold space for two expressions: one haunted, one heartbroken. It had to sit with the audience a little longer.
The dialogue / conversation has elapsed, but I chose to hold on to their emotions and expressions to allow the audience to grasp what they both were feeling, making them a part of the conversation as well.
Pacing Philosophy
My rule? If the scene is purely narrative; Saif walking across a room or sitting down, I cut it naturally, invisibly. Don’t draw attention to it, it also helps making it unnoticeable when the shot has continuity, which I focused on a lot whilst producing, for example:
But if the character is vulnerable or the mood is dense, I let the shot breathe. Holding a few extra seconds can do more than any dialogue can. In a bilingual film with emotional nuance, timing is everything.
Syncing Dialogue
Because I recorded externally on the Zoom H6, syncing was non-negotiable. DaVinci’s waveform sync was my savior. I selected everything from the master bin: clips + audio and used “sync by waveform.” Timecode wasn’t an option since I started recordings manually.

It wasn’t always perfect, especially when takes weren’t started at the exact same time, but it was fast. And fast was necessary.
Digital Camera Effect
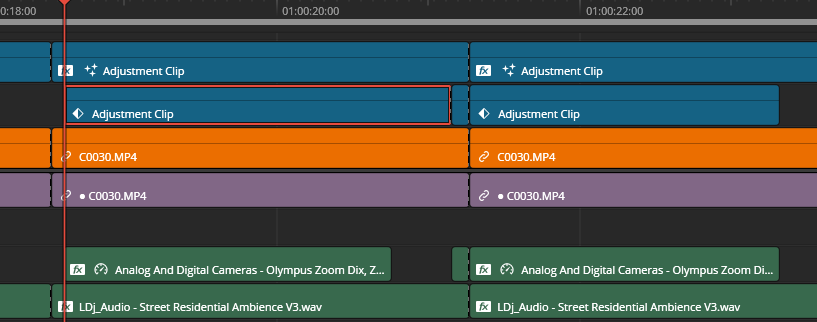
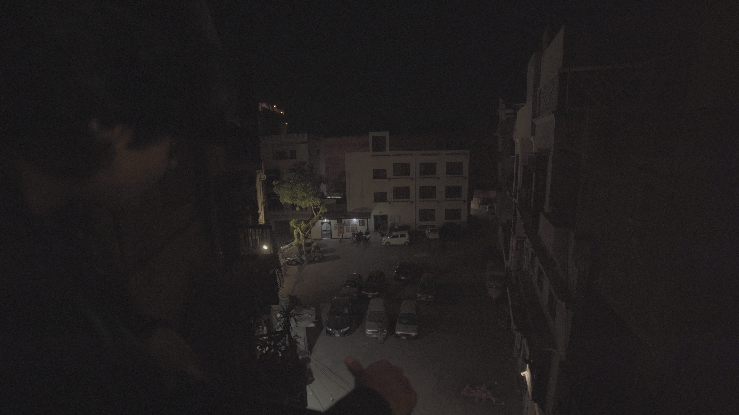
One of my favorite effects to test here was the fake digital camcorder overlay, especially in Act 1, where Saif's brother records him. I added a timestamp and battery icon to sell the camcorder aesthetic.
But here’s where I went extra: between the rooftop and street scene (where Saif beats up Ikhlaq), I split the overlay and changed the timestamp from something like 30 seconds to around 1 minute 40 ish seconds. The battery dropped by 10 ish percent because hey, it’s 2009 and camcorder batteries weren’t known for stamina. It makes a subtle difference. Instead of the overlay feeling fake and static, it feels responsive to the story and time passing. Tiny touches. They add up.
Fake Zoom Effect
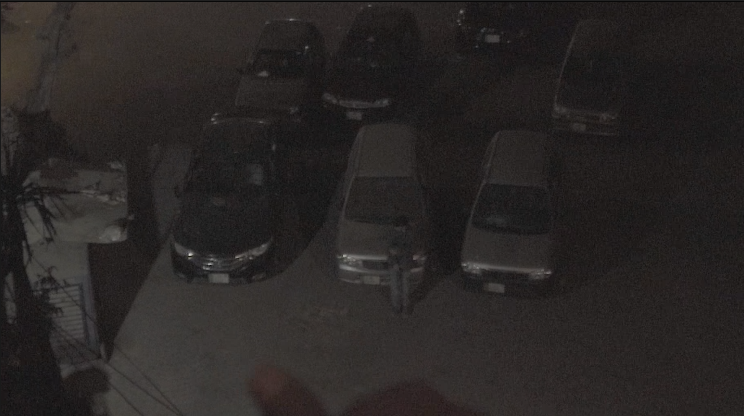
I used dynamic zoom and keyframed the transform settings to simulate a digital camera zoom. But here’s where it gets tricky, DSLR zooms are smooth and manually controlled. Digital camcorder zooms? They’re stiff, button-based, and have their own speed.
So I matched that feel using ease-out keyframes and paired it with actual digital zoom sound effects from Envato Elements, which I also reversed and manipulated a bit to a) match the environment and b) zoom out as well, had to use the same audio as getting a different zoom out audio would be weird.
Because I shot in 4K on a Sony A7III with a prime lens, I had enough resolution to punch in without degrading the image. The sensor held up, clean, sharp, intentional.
So even in a rough cut, the zooms didn’t feel like post hacks. They felt like part of the story’s world.
The First Watch
This cut had no color correction, no subtitle overlays, and the audio was still completely raw. This was the version I showed Sir Zia to get feedback. The runtime was close to seven minutes. No intro animation. Nothing trimmed yet. And I already knew I would have to cut something. Probably a lot.
The story was all there. But I had no idea how to reduce the length without gutting the emotional core. That realization hit hard. It was scary to think I might have to remove scenes I liked. But that is part of the process, and with that I present the first draft of The Executioner.


Comments